

Mastering RV hookups: water, Electric, Propane, Internet and Black tank
Welcome to the comprehensive guide on RV hookups. Whether you're a seasoned RVer or just starting your journey, understanding how to properly connect your rig to water, electricity, and manage your black tank is crucial for a smooth and enjoyable experience. Let's dive in and ensure your next adventure is perfectly powered and plumbed.
If you ever need help setting up your RV hookups or troubleshooting any issues at a campground or just need some help or advice we offer personalized Zoom/FaceTime or phone call coaching.
Please click the button below to schedule an IMMEDIATE or future call
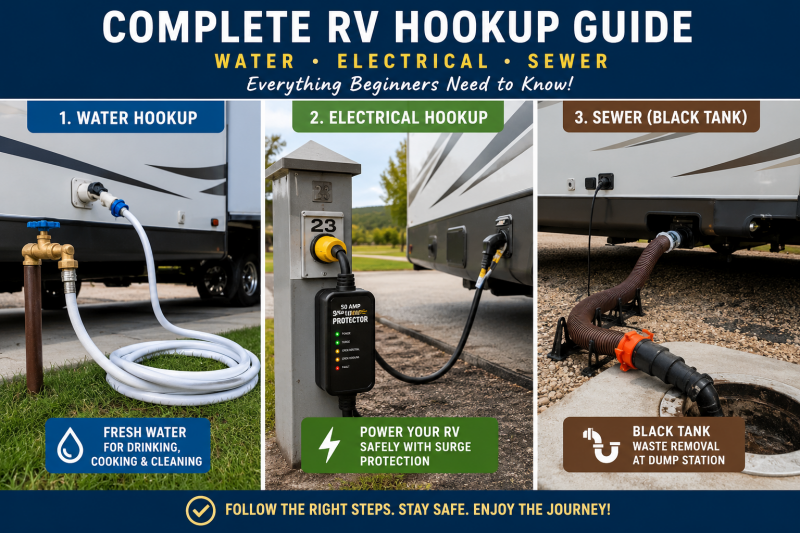
Connecting to fresh water
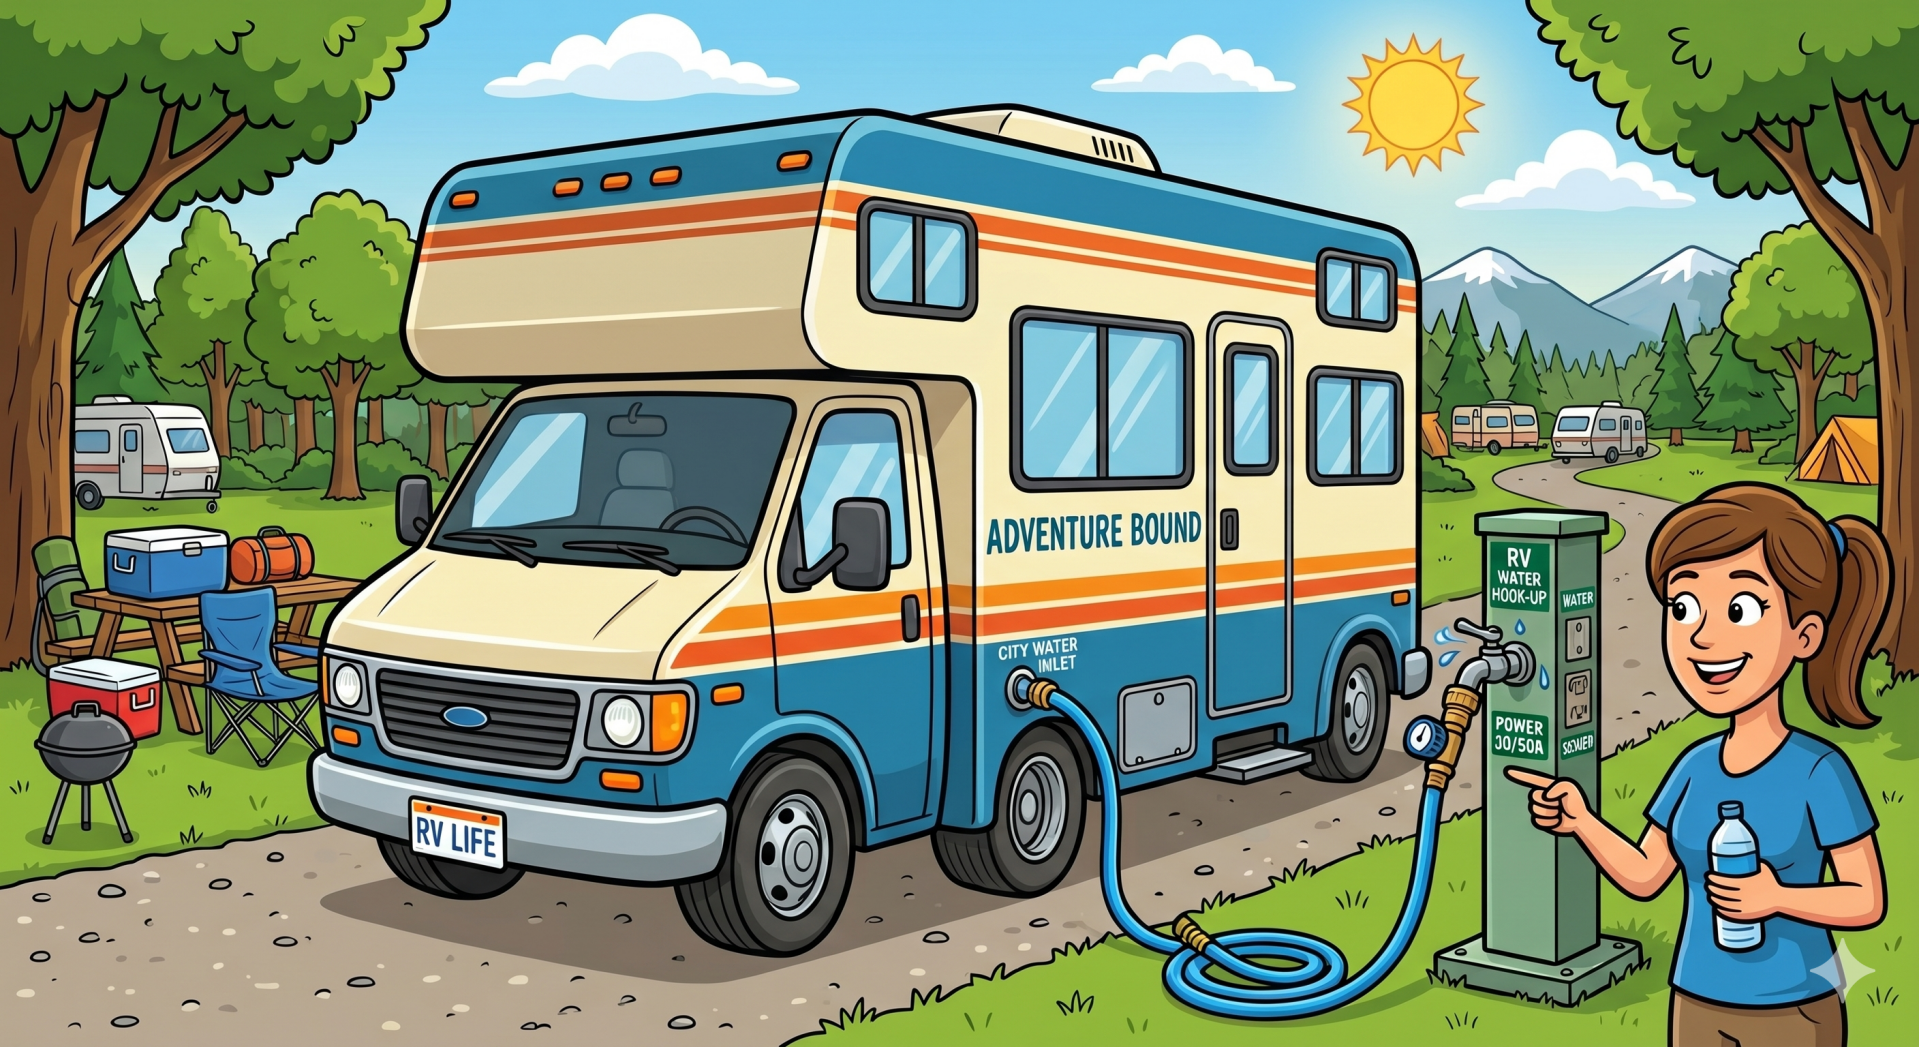
When you arrive at your site, the first thing you want to do is locate the campground water spigot and make sure it is designated for potable (drinkable) water. From there, you will attach a water pressure regulator directly to the spigot. This is a critical step because campground water pressure can vary widely, and without regulation, it can damage your RV’s internal plumbing.
Next, connect your water system in this order:
- Locate the campground water spigot (confirm potable water)
- Attach the water pressure regulator directly to the spigot
- Connect your white potable water hose to the regulator
- Attach the other end of the hose to your RV city water inlet
- Go inside or have someone inside to make sure the water valves are all closed
- Slowly turn on the water at the spigot
- Check for leaks at all connection points
- Go inside the RV and test faucets for steady water pressure
Safe electrical hookups and surge protection
Step-by-Step Instructions
- Identify whether your campsite has 30 amp or 50 amp service (could be both)
- Know If you need 30 or 50 amp. A 30 amp RV uses a three-prong plug and provides less available power, while a 50 amp RV uses a four-prong plug and can run more appliances simultaneously.
- Turn the campground power breaker OFF before plugging anything in
- Plug your surge protector directly into the campground pedestal (DO NOT skip this part!)
- Allow the surge protector to run its safety check if equipped
- Connect your RV power cord to the surge protector
- Make sure all connections are fully seated and secure
- Turn the campground breaker back ON
- Go inside your RV and confirm outlets, lights, and appliances are working properly
- If not check the fuse box and then the breaker could have tripped
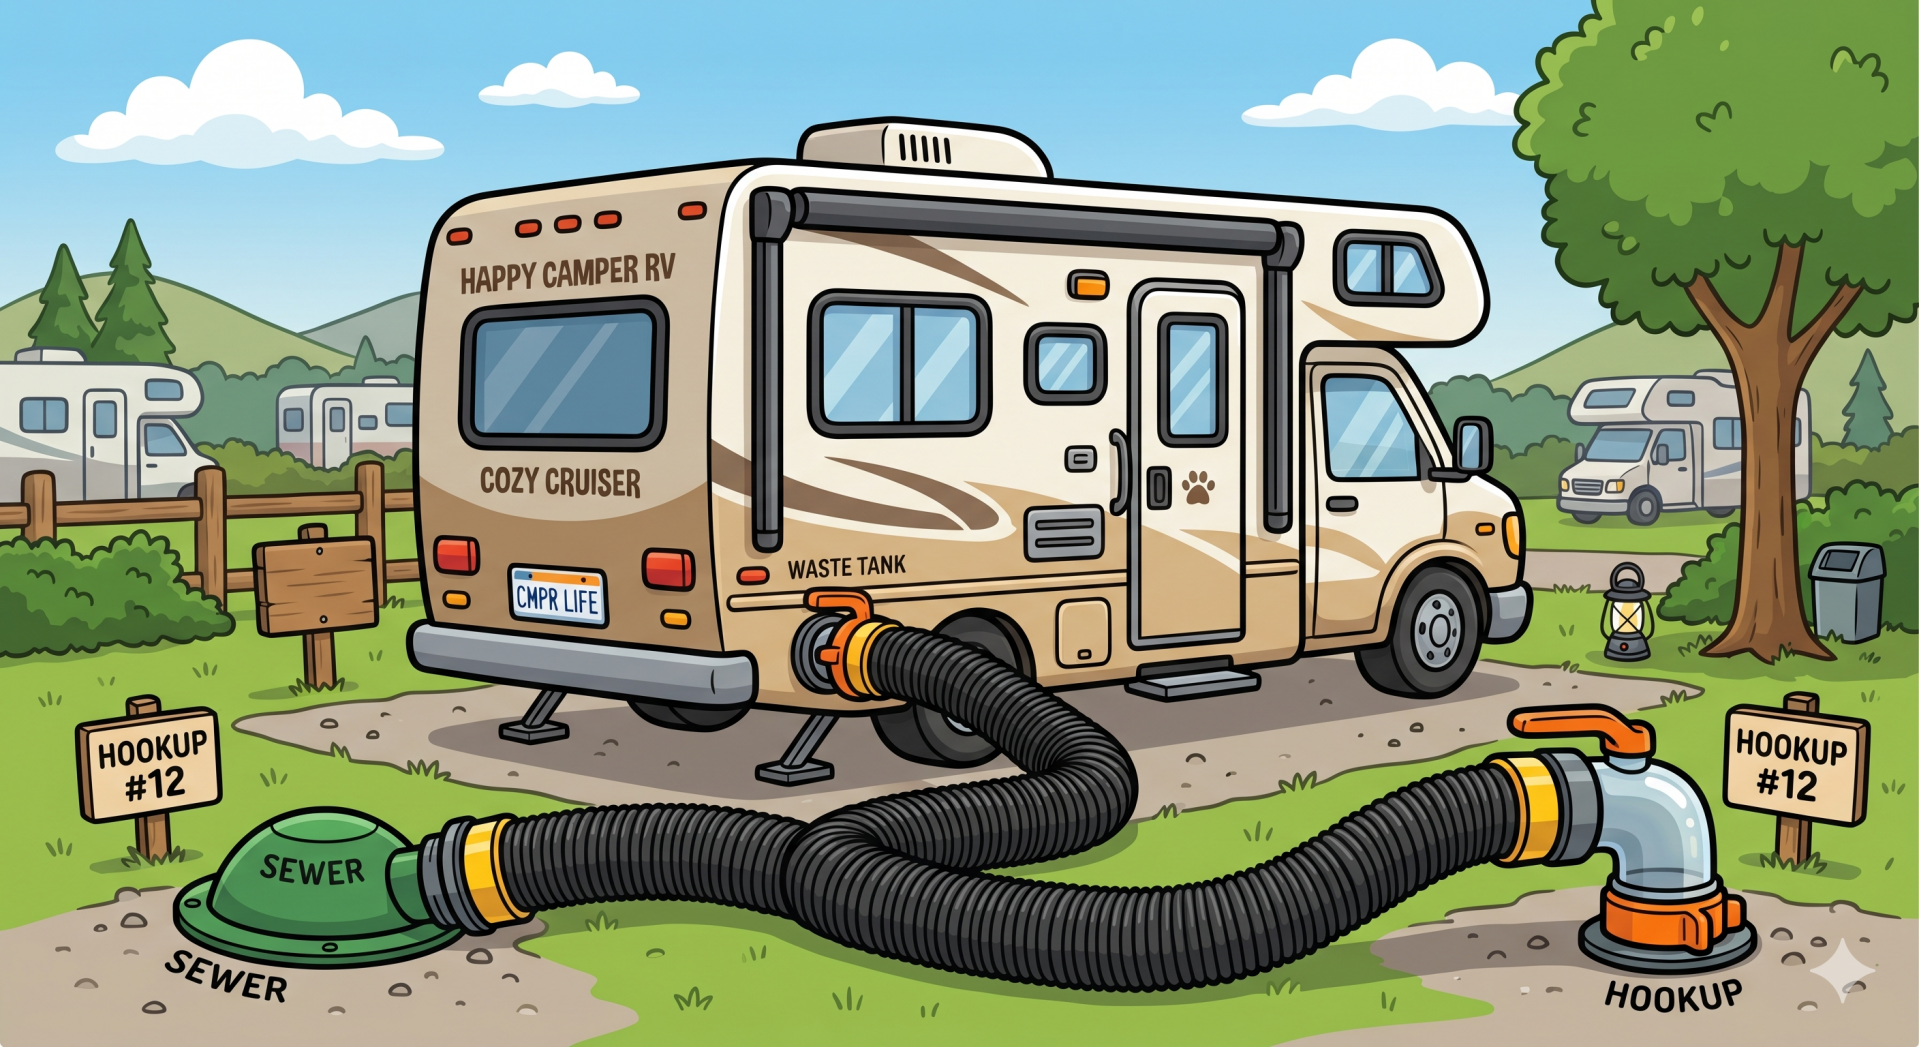
Hooking up and Draining your black tank with confidence
Step-by-Step Instructions
- Put on disposable gloves before handling any sewer equipment
- Attach your sewer hose securely to your RV black tank outlet
- Connect the other end of the hose to the campground dump station inlet
- Make sure the black and the grey tank are CLOSED
- Double-check both connections are tightly locked in place
- Go inside and hold down the toilet pedal and fill toilet with some water. Hold down for about a minute
- Pour liquid black tank treatment into toilet or drop a packet into toilet
- Always make sure you have a little water in the bowl to keep the seal wet at all times so it does not dry rot
Emptying The Tanks
- Put on GLOVES
- Open the BLACK tank valve first by twisting lightly and pulling it straight out and allow it to fully drain
- Once the flow has stopped, open the GRAY tank to flush the hose
- Close both tank valves completely after draining is finished
- Carefully disconnect the sewer hose from the RV and dump inlet
- Rinse the hose thoroughly at a designated rinse station if available
- Store the hose in a sealed sewer storage compartment
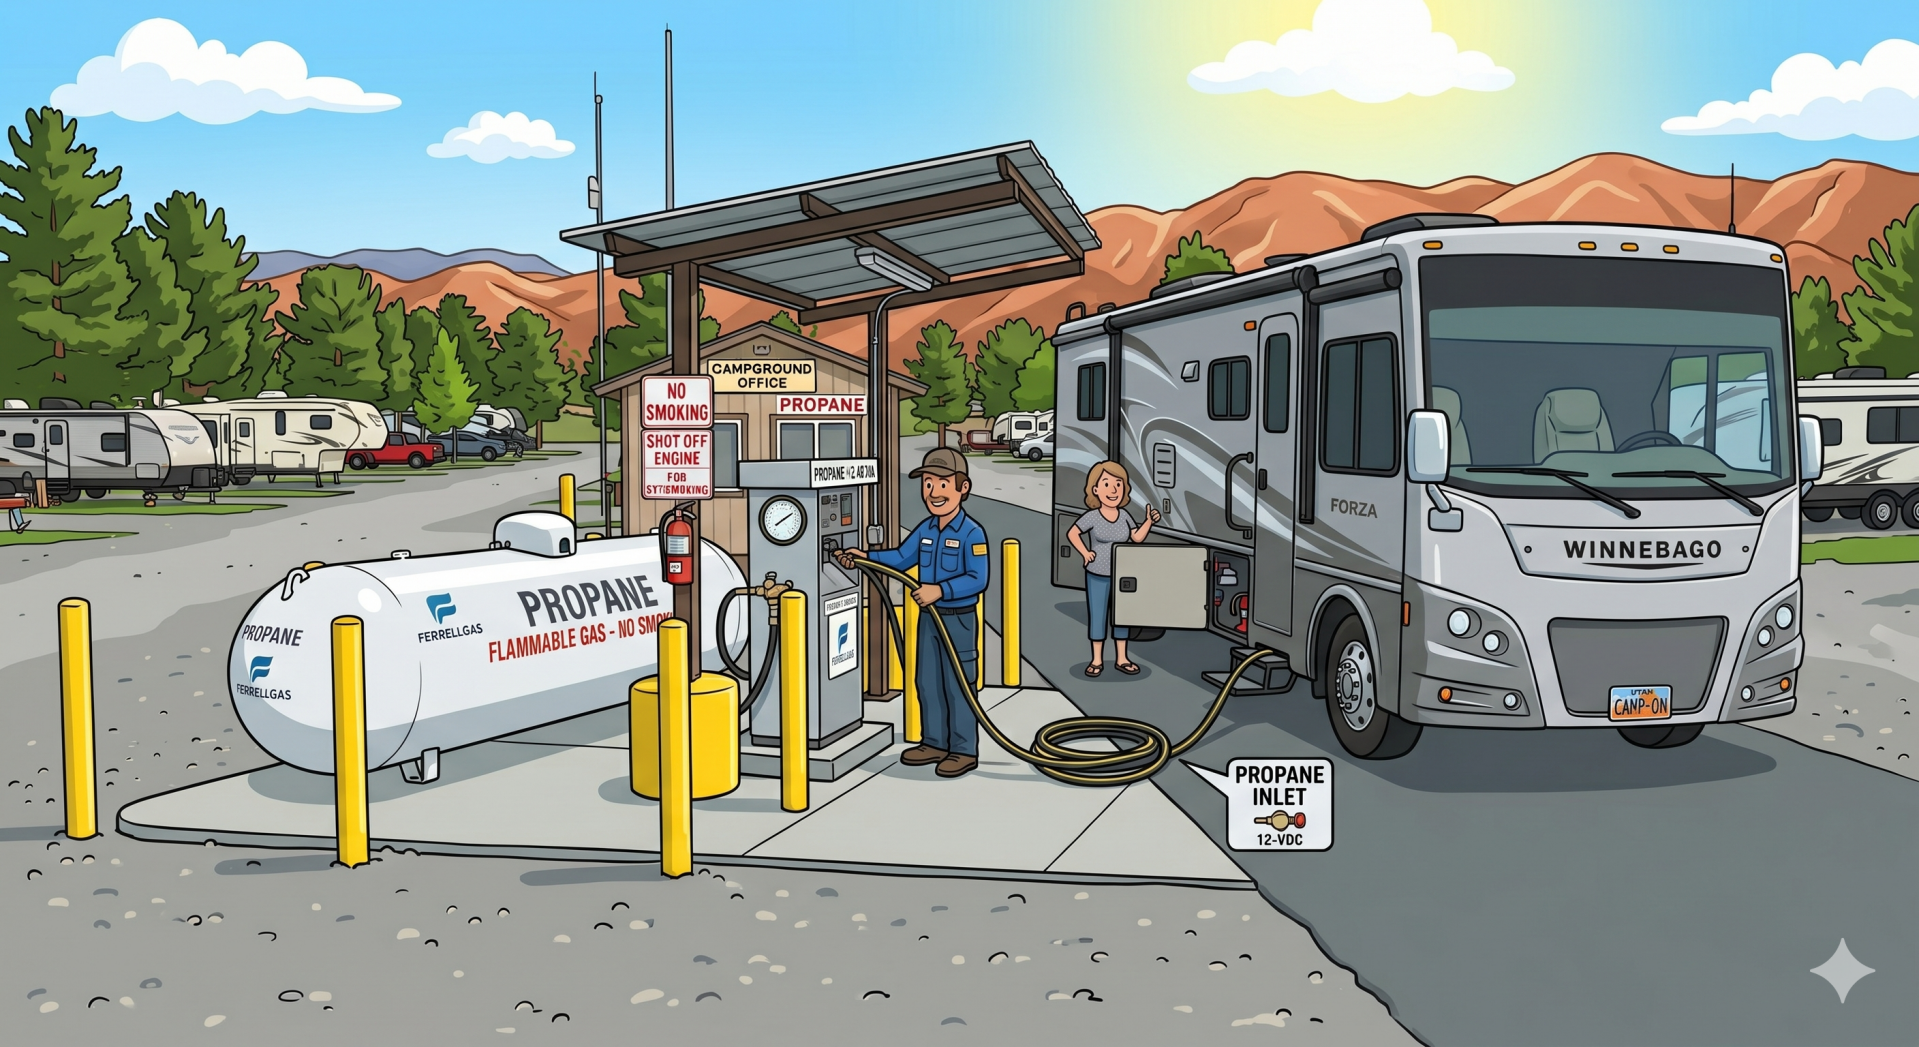
Safe Propane Hook-Up
Step-by-Step Instructions
- Make sure all propane-powered appliances inside the RV are turned OFF
- Inspect propane tanks, regulator, and hoses for cracks or damage
- Confirm propane tanks are securely mounted in place
- Attach the propane hose or pigtail connector tightly to the tank valve
- Slowly open the propane tank valve counterclockwise
- Listen and smell for any signs of leaking propane
- Spray soapy water on connections to check for bubbles (leak test) Keep a small spray bottle at all times by the propane compartment
- If bubbles appear, shut off propane immediately and tighten connection
- Turn on one propane appliance inside the RV to test the system
- Confirm stove burners, furnace, or water heater ignite properly. Do not wait until later as if it is cold and you need heat you will be upset if the heat does not work at that point
📺 How to Connect Campground Cable TV
Step-by-Step Instructions
- Locate the campground cable hookup on the utility pedestal (labeled “CATV” or “Cable TV”)
- Connect a coax (RG6) cable from the pedestal to your RV “Cable In” port
- Turn off your RV antenna booster (this can block cable signal)
- Set your TV input to Cable or CATV
- Run an auto channel scan in your TV settings
- If no channels appear, check connections or confirm the campground cable service is active
🌐 How to Connect Campground Internet (Step-by-Step)
Step-by-Step Instructions
- Find the campground WiFi network name (SSID) and password from check-in info or signage
- Open WiFi settings on your phone, tablet, or laptop
- Select the campground network and enter the password
- Open a web browser and try visiting any website (this may trigger a login page)
- Complete the captive portal login if prompted (accept terms or enter access code)
- Confirm internet is working by loading a few websites or streaming a short video
- If signal is weak, move closer to the campground office or higher open area if possible
- Restart WiFi or “forget network” and reconnect if you lose connection
- If available, connect your RV WiFi booster/router to the campground network for stronger, private internet inside your RV
🧠 Pro Tips (what most RVers learn the hard way)
- Campground WiFi is usually “shared internet” → expect slowdown at night
- A WiFi booster/router makes a HUGE difference
- Always carry your own coax cable (campgrounds often don’t provide one)
- Cable TV only works if the pedestal is actually activated (not all sites are) Ask your campground